Pages

Monday, March 20, 2017

Exploring Deep Space - Faux Fireplace Overhaul

I started this project on a whim, with no plans or expectations.  As you may have read in my previous post, Color Spotlight: Gray Owl, the entire upstairs got a paint job.  Well, most of the entire upstairs with the exception of this little faux fireplace built-in.  Behind all of that was a big, patchy, multicolored mess from all the years of painting and repainting.  


To be truthful, when the faux fireplace was installed four years ago?? it was never actually completed.  There was a lot of trim work that was missing because, eh.  

I really loved the concept of having said faux fireplace bookshelf thing, but to be honest, it was way too crowded in our living room space.  Initially, the faux fireplace bookshelf worked within the space, however, when Shane built the Tree Rings cabinet, the space got pretty jammed.  Now, being the minimalist I am, the cramped space totally bummed me out.  So much that I found my nutcase self moving the other pieces of furniture around on a weekly basis, only to move it back, then back the other way.  Last week I finally came to my senses, realizing that the living room was never going to look right until I did something about the giant mass sitting dab smack in the middle of the room.  So, I did what any loonie would do on their lunch break; I grabbed the rubber mallet and gave the fireplace a few knocks.  By the time my break was over, the shelf was successfully removed.  


Board by board, I deconstructed the built-in until I only had the mantle part remaining.  The mantle itself had absolutely no support, wiggling and wobbling, ready to snap under the weight of the top. So, I leaned it up against the wall and called it quits.  Because, well, no plans or expectations.


Time had passed and I still didn't have a clue what I was going to do with this mantle.  I really wanted to utilize it somehow.  I love a tiny house, but lately I am realizing how quickly we are running out of space for unique additions such as this.

I made a trip to the garage and found some wood scrap pieces; reconstructing the base of the mantle.  But even after adding the scrap pieces, the mantle was still movin' and shakin'.


After sorting through the pile of extra wood from disassembling the faux mantle, I found a few pieces that would aide in increasing support, and secured them to the back of the mantle with a nail gun.


The mantle went from 20 pounds to 50, I swear.  But, it wasn't going anywhere.  I mean, literally.  It just hung out.  It wasn't until Big Bull Gretzky spotted a crow in the tree eight houses down, freaked out and bumped the mantle.  In slow motion the mantle leaned farther and farther and because I am such a badass, I ran to rescue the 50 pound tipping mantle, catching it with my now bruised bicep. Girl power.

The mantle was in fact heavy AF.  My bruised bicep told me so, but it was certainly not secure.  The final decision on location needed to speed up, which resulted in the mantle sliding two feet, right into the dining room.  A few anchors and furniture wall straps later, the mantle was secure.  This time it really wasn't going anywhere.


The faux fireplace has seen it's share of dings and dents.  After some patching and sanding, the mantle was looking a little hot and a little messy.  Since I conveniently ran out of the Gray Squirrel paint by Benjamin Moore (it molded), the opportunity to explore other colors presented itself.

Side Note: My husband loves outer space.  He told me once (several times really) that if we never met, he would have been first in line for the Mars Project.  It's close, but I'd say he loves me more than the solar system.

Up until this very moment, Shane just thought I was crazy for moving shit around, again.  He's right.  And to thank him for putting up with me, I wanted to incorporate a color just for him.  I present to you, Deep Space by Benjamin Moore.  It's a very dark, slate-like blue.  Needless to say, he was a fan.

So was I.  Now we can make routine visits to deep space anytime! And seriously? Check out that sexy trim job.


I really liked the idea of having shelves in the mantle, but as I said before, it was just too much noise in such a small area.  The noise was accompanied by anxiety when it came to decorating, and more to dust.  Now, I can still decorate the mantle for all seasons, but it isn't hoarding space in the process.  Just clean, simple, lines.  The best part is the mantle is officially portable, which means endless possibilities!  Maybe I'll move it somewhere else in a week?  The odds are always good.
The mantle is more or less a piece of wall art now; similar to the chair at the Walker that's adhered to the wall with two legs and a tissue box sitting on top.  Seriously.

The other side of the room is a different story.  I'm currently on the hunt for a decent MCM or Danish inspired credenza/media console that doesn't cost a mortgage payment.  Until then, the remaining built-in piece is going to have to hang out until I'm ready for it.  It's a start anyway.  Wishing you all a fabulous first day of spring! 


Thursday, March 16, 2017

Color Spotlight: Gray Owl

Is there is such thing as New Year's irresolution?  If so, I'm totally owning it.  I'll be honest when I say that even though I feel like I have been busy with home projects - they are the kind of projects that don't require a lot of skill, how to's, or shortcuts - and are probably not worth documenting, or your time.

We have a ton of projects on the back-burner, waiting for better weather.  A few include new windows, patio door, kitchen remodel, and a continuation of landscape updates from last year. Confident my plants decided to die and not come back this year, but only spring will tell.  This means, big bucks being spent.  It also means hanging around the house more saving for said bucks.

But...

With all of this time being spent in the house comes itches and scratches of wanting to do things that are more or less in my control.

For example: Repainting the upstairs for the fifth-ish time.  I've been sitting on the fact that I wanted to repaint everything upstairs for months now, but was waiting for the perfect opportunity.  I got that when Shane left for the weekend.  Husband is away, paint brush comes out to play.

Up until a couple weeks ago, we had a combination of Manchester Tan and Shaker Beige splashed across the main living area walls.  People change, style changes, preferences change.  I know I've mentioned in previous posts that the Manchester Tan was a paint color suggested by one of the specialists at Hirshfield's.  Although they are extremely knowledgeable, I was blindly asking a specialist what color to paint my living room, a place she had never been. Color of the year in 2010 was none other than Manchester Tan, so I can understand the suggestion.  However, just because it's a beloved tone, doesn't mean it's treasured in this piece of split.  Our windows face east and west, and in natural daylight, the color was tolerable.  But when the sun started setting, the color took on this I've been smoking three packs a day inside my house yellow.  Ishy.

Picking the color was a whole other battle.  I researched various colors starting in October, and just wrapped up painting in March.  The goal is to never paint our upstairs, like ever again.  After reading hundreds of thousands of reviews on cooler paint colors, I settled on Gray Owl.  Here is why:

Gray Owl Know-it-all:
  • Gray Owl is dominantly gray with cool, soft, and passive undertones of blue and green.  Which means, it looks badass with a variety of wood stains, stainless steel, and creams/whites.
  • Gray Owl is a light paint color - It's not light enough to be classified as an off-white, but it's also not a medium hue either.  In fact, it's right dab smack in the middle of "light."
  • With any light gray, it is susceptible to reflection and can pick up other tones from it's surrounding environment; i.e. If you have a navy accent wall, it's going to pick up the blue.  If you have a vintage forest green Chesterfield sofa, your walls are going to appear a bit on the green side.
** An added tip: Pair your Gray Owl walls with trim painted in Super White for a bright pop of freshness.  The two colors share similar undertones and go very well together.

As I was saying, we live in a typical split entry home.  For our home I used a combination of Eggshell and Flat finishes, and ended up purchasing 1 gallon and three quarts of Flat and 1 gallon of ES.  With this amount I was able to paint our downstairs and upstairs hallway, entry, living room, dining room and kitchen space.  Whatever color you're covering up plays a huge role in how much paint you're going to need.  If you have dark walls, double the amount.

Also, keep in mind that there is a huge difference between the two finishes - Eggshell has great wipe-ability with a bit of a sheen, so imperfections stand out a little more.  Flat is great for areas that don't have perfect walls - if your sheetrock is a little wonky, or if you live in a older home with plaster or a lot of imperfections from artwork being hung up over the years.

The way the house was painted with the two finishes was very strategic.  The two sheen's weren't mixed, except for one wall on accident.  You could see the eggshell punch through the flat.  Took a few coats to cover it up.

And without further adieu, a few before and afters of the back breaking work.  Don't worry, I'll pat my own back.

The best example can be seen in our entryway - and for the fact that I seem to have the most photos of our tiny entry?  For some reason?  It's best not to ask.

2015 ish after a new door and railing with Manchester Tan
As seen today with Gray Owl
No doubt do we have additional improvements to make - more things to hang - more things to paint. But if I had to pick any of these looks, I'd say I'll reveling in the best one yet.

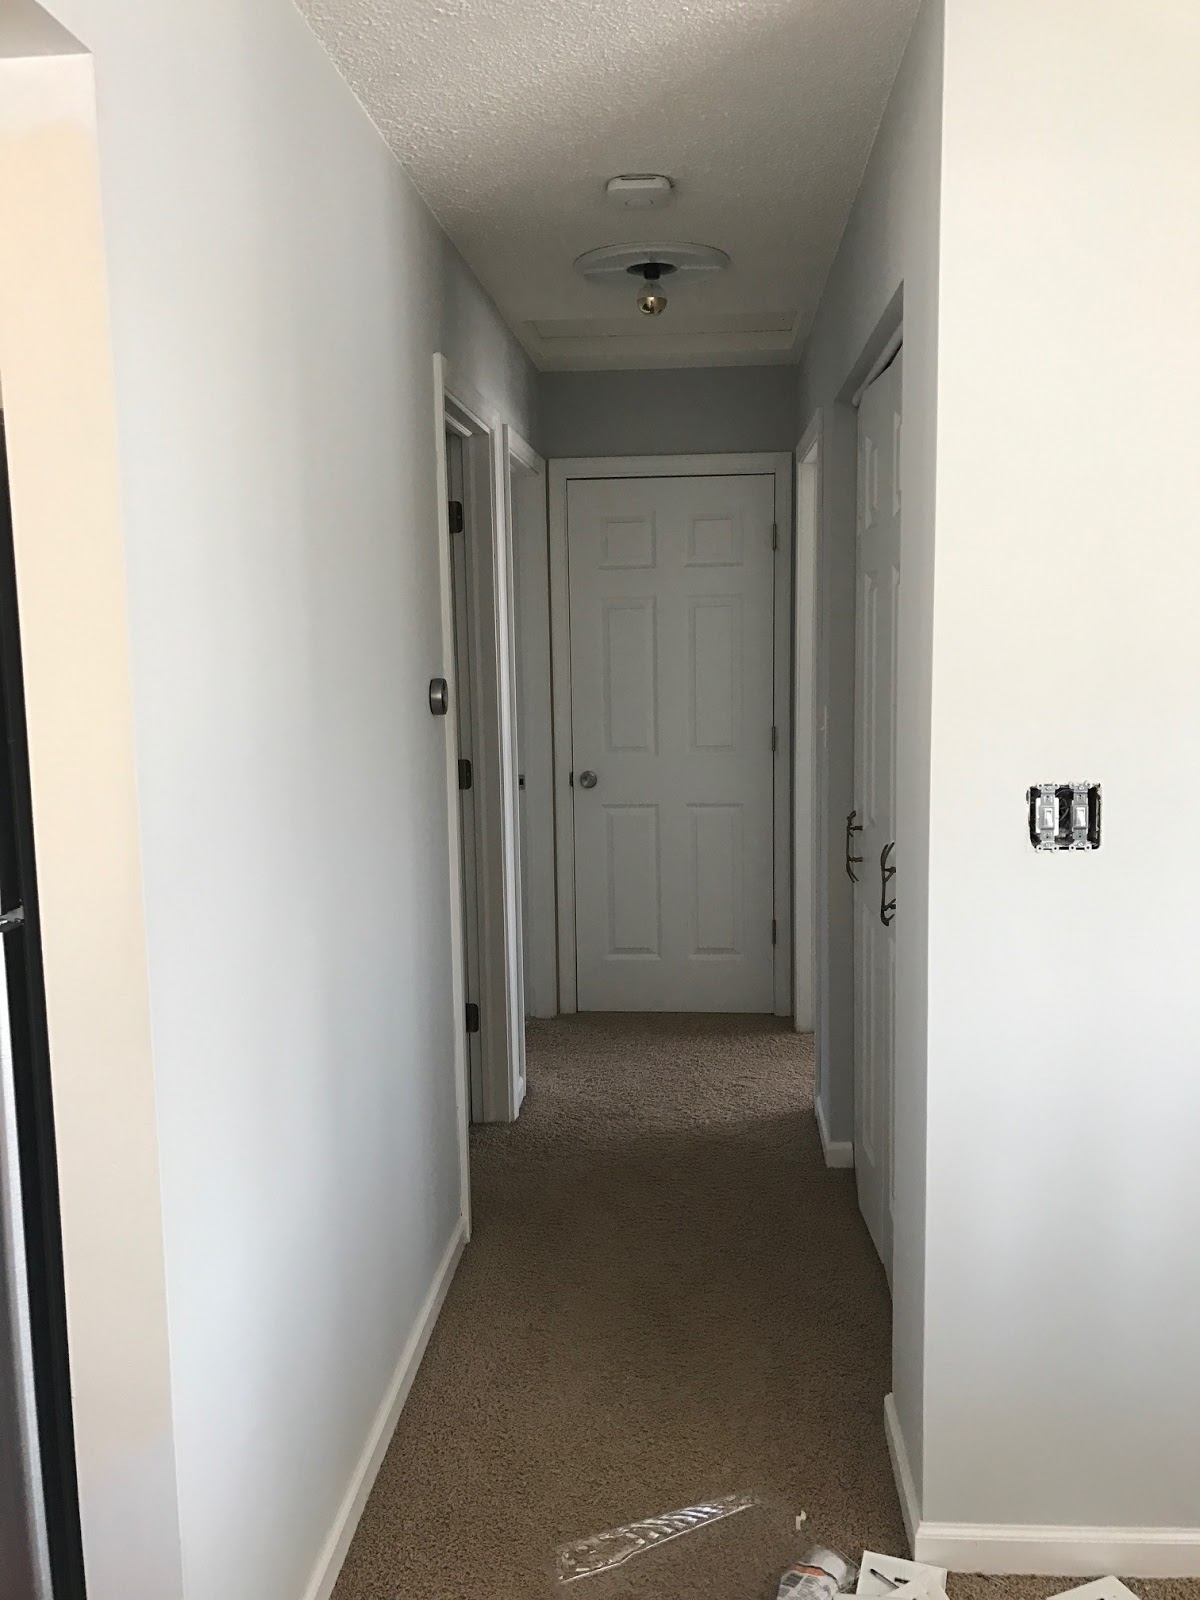
Another semi-decent example is our upstairs hallway.  Please disregard the areas I didn't paint when the photo was taken - on second thought, maybe you should take a look so you can compare the yellow dirtiness of the Manchester Tan to the so fresh and so clean, clean Gray Owl.


And finally, a shot of the faux fireplace - that also got a major overall!  (Check back soon for this update) You can easily compare the two paint colours.  **Photo taken in natural light


Well, I guess that's it as far as photos that capture the impending change.  I'm hopeful the frequency of these little posts change, but you can't rush a good thing.  As always, thanks for reading!

Wednesday, January 11, 2017

Ten Stupid Simple Craft Ideas

When November hits, I quickly remember how expensive the next two months are going to be.  Between Christmas presents, donations, food, ornaments, Christmas trees, blah blah blah, it adds up.  And it adds up to a lot.  By the time you get a grasp on your expenses and, like, not having a single moment to yourself on the calendar, those personal touches can fall to the wayside... just a bit.  Unless you have 20% off home decor and gifts on Cartwheel.  Then, and only then, is additional spending necessary.

In no particular order, here are my picks for crafting materials to have around the house during the holidays (and non-holidays) to save you from a bind.

1. Brown Paper Bags 

Create your own door garland with some scissors, tape, and a little imagination.


2. Perel Beads

I like Perel Beads because A. they are super colorful B. They are cheap if you consider how much product you can make and C. The sky's the limit with these suckers - legit secret santa/teacher gifts and totes adorbs gift tags.


3. Popsicle Sticks (various sizes) 

Create some big ass (or small ass) snowflakes by gluing some sticks together.


4.  Kraft Paper + Sharpie Pens

These cheap materials make awesome last minute greeting cards, you know, for that family you forgot about that didn't forget about you.


5.  Mason Jars + Petite China Dishes

This trend has been sticking around, and it won't be leaving anytime soon.  Load up on these bad boys.  Look for coupons at Hobby Lobby and Michaels for deeper discounts.  As far as trinkets go, check out places like Etsy for vintage finds, or your local thrift shop.


6.  Cardstock Paper 

Make no sew paper bunting garland with scissors, string and tape.  If you're feeling extra ambitious; make a fireplace to hang those stockings with care. A hot Toddy or two and maybe some cuddles... just not the struggle kind... is all you need to stay warm on those frigid nights.


7.  Craft Paint + Canvas Paper

Unless you are planning on painting a masterpiece, my advice is to check out brands like Folk Art and Apple Barrel for your painting needs.  I have done plenty of paintings on canvas using these vibrant hues -  for a fraction of the cost of those other super expensive acrylic paint tubes.  A single tube of craft paint will cost you around 92 cents.  And oh, the color options!

Instead of wrapped canvas, opt for canvas paper.  It's frameable, and fits nicely in your favorite gallery frames.


9. Gold Leaf Paint

With a little gold paint and a lot of imagination, you can add shimmer and shine to everything from christmas ornaments to mini figurines to canvas gift bags to black river rocks to terracotta pots to... I'll stop there.

*Recommendation: Liquid Leaf - Apply using dry bristle brush*


10. Felt

Felt has always been a tried and true crafting medium.  You can stitch it, cut it, glue it, paint it, snap it, work it, quick, erase it. Technologic. Technologic.


As far as time goes, all of these crafts took less than one hour leaving plenty of time for all of those other things that fill up your schedule.  The best part is, these crafts and materials are simple enough for you and your family to participate in.  And having three glasses of wine, minimum, will really get those creative juices flowing.  Happy designing, folks and have a splendid New Year!