Back in August me and Shane both agreed that we needed to kick back, relax, and shelf our projects for a bit after non-stop work and broken budgets. Remodeling is not for the faint of heart, so kudos to all of you bad-ass renovators for sticking with it. Our "break" turned into months of project-free days. Then I realized we never stopped the projects. Just blog updates. So. No more promises. It will happen when it happens.
Did I mention how grateful we are for all of you who check out our site? No? Über grateful. :^)
Alright boys and girls. Today we are going to be talking about the custom media cabinet we put together to fit in a rather askew space. For years the corner has been adorned with electric cords... something I truly dislike. A lot. Like a lot, a lot.
Here is what our 29 inches of "space" looked like before:
For years we strategically angled a chair to cover the mess in the corner. Throughout those years, I browsed every possible online furniture site, checked out every imaginable thrift store and explored every (no joke) corner media cabinet on Pinterest. Nothing stood out, and NOTHING would fit. Until one day....
 |
| Tree Rings Media Cabinet |
I saw this. This gorgeous Tree Rings Media Cabinet at Anthropologie. For... $450.00. After reading the (not so great) reviews, I thought it was best to use this piece as an inspiration. I did some quick measurements and drew a sketch. Pinned it to our fridge... and there is sat for awhile. But then!!! One fateful day, Shane came home with wood up the azz and started building.
We ended up purchasing a few woodworking must-haves. If you want your top, sides, and bottom to fit together, we would recommend you check out a Kreg Jig. Pretty inexpensive product for how much it does. You can get one as low as $19.00. What a steal and gain!
I checked with Shane to see if he had been documenting the process... and no. No he wasn't. So unfortunately, no in-progress photos to share. He said he would do it the next time...
But here are photos of the completed piece--
 |
| Shane built shelves and cubbies for the inside to house his precious electronics. |
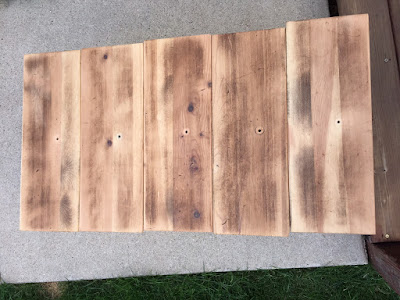
Basically, you make a box with some doors. We wanted our doors to set-in, not rest on top of the unit, so we ended up picking up special hinges to accomplish this. The unit itself is made up of poplar wood-- for the most part, and stained in Minwax Puritan Pine. The wood rounds are birch, and were fixed to the doors using wood glue and clamps. Going into it, we were going to cover the doors with wood rounds, but after getting a few up, we opted for a design instead. Initially we added some heavy-duty top plates on the bottom to support the wood legs. Once we put it in the corner, we both agreed the wood legs made it look too top heavy next to our anchored faux fireplace. So those came off. Bow-chica-wow-wow.
So there you have it friends. Our version of the Tree Rings Media Cabinet. I know this shit can be subjective, but I like our version waaaaay better. There are always bonuses when you can DIY something. You end up with something you worked hard at. Your piece is as unique and special as you are, and you end up with extra money in your pocket that you would have spent in the big box store.
Thanks for stopping by! See you in a week or two! Just kidding. No promises.
XO
Jenna


