First up on the chopping board-- the Ikea RAST Dresser. You can find these little buggers at Ikea, duh, for $34.99! They are functional, inexpensive, and have a life expectancy of five years, easy. The coolest part about these dressers? The material is raw, meaning the ideas are limitless. If you haven't checked out Ikea Hackers, here is the link: http://www.ikeahackers.net/ It is here that you can find some great ideas on refashioning your neat finds from Ikea.

I had a pretty good idea of the look I was going for with my dresser. But just for fun, let's check out some other good folks RAST hacks for inspiration.

I probably shouldn't even start out with this one... This would be the "overachiever" of the bunch, but it just proves that anything is possible! Get fancy with it.

Two-tone RAST dresser. Very nice.

Here is another super awesome example... it is the best one yet, isn't it? ISN'T IT?! Good, because this is the ones I am going to show you how to make. If you hate it, well then, you're on your own.
Step 1: Obtain an Ikea RAST dresser. Because the wood is not treated in anyway, you really want to think about the longevity of your piece and what you are going to be using it for before proceeding. For our RAST dresser, we are using them as nightstands, therefore, they will be out of the way for the most part. We typically have cups upon cups sitting on our nightstand filled with
Step 2: Sand me lightly.
Step 3: Getchyo paint n' stuff. For this particular dresser I decided to use a primer before getting down to the nitty-gritty with the actual paint color. Kilz latex white primer would do. A quart will put you back about eight bucks. Something to keep in mind when you are priming your piece- It does not need to look pretty. It can look sloppy as hell. Just make sure it isn't gooped on there. We are looking for a "smooth and unevenly painted finish." Primer also has a really awesome way to make imperfections stand out more. This would be the time to get some last minute sanding done.
.JPG)
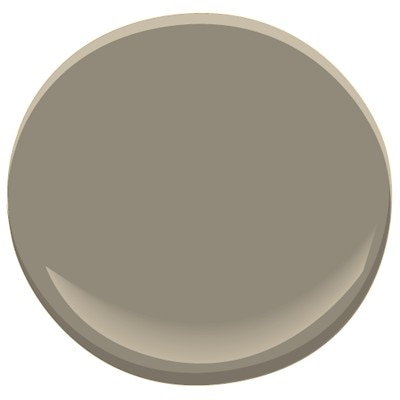
Step 4: After the primer has set and dried you can begin your application. You can pick your weapon of choice: Roller or paintbrush. If you use a paintbrush, make sure you use short and even brush strokes. The more coats of paint you have on your dresser, the less amount of brush strokes you will see. I would venture to say 3 coats of paint on your dresser would suffice. If you decide on a roller, the application process is much smoother, however, the downside is you could potentially get air bubbles. Instead of using a foam head, I would suggest woven Dralon fabric. Purdy is a line that carries this product. If you are big on rolling... ha.. the Dralon fabric will prevent less bubbles. For color reference, I picked up a quart of Equestrian Gray by Benjamin Moore in a satin finish.
Step 5:

Step 6: While my second coat of paint was drying, I went ahead and started to work on the handles. Here is the list of materials:
* 1 used leather belt purchased from Savers for $2.99 (men's size 36+)
* Cabinet Knob Screws 8-32 x 1-1/2 (need 6)
* 8-32 bolts (need 6)
* Xacto knife
Step 6- A(?): First things first. Measure the distance between the two pre-drilled holes in the dresser and mark the backside of your belt. It would be a good idea to factor in how long you want your leather handle straps to be, and how droopy or tight you want it. For these particular handles, I wanted to make sure I could get a hand in between the dresser itself and the belt. Also, keep in mind that you should start from one side of the belt and work your way to the other end. That way you aren't wasting perfectly good leather. Man, Step 6 sounded dirty.
.JPG)


Step 7: You can seal your paint by using a high gloss top coat. I used Minwax water-based Polycrylic in Clear Gloss-- see you later water rings!!

Well, thar she blows! I am really diggin' it. Hope you do too. This is a pretty basic hack, but your ideas could be endless! (think upholstery tacks or stencils?)
Stay warm out there friends. -40 below can feel like a real asshole.
No comments:
Post a Comment