Yo, yo, yo. It's picture hanging time! This post has A LOT of instruction in it, so if you are challenged that way, move along. Just kidding! I made the steps so simple that even you directionally challenged freaks will understand! Takes one to know one... yeah, I am one. SO! Anyway, I am going to teach you how to make THIS:

It's so beautiful!
Junk you'll Probably Need:
- Pencil with Eraser
- Painters Tape
- Eye Hooks
- Hanging Wire (I used 9' galvanized braided hanging wire. This wire can support up to 50 pounds)
- Wire Cutter
- Tape Measure
- Picture Moulding Hooks
- **Optional: Drill and bit to pre-drill holes into your frame
** All materials were less than $20.00, excluding the frames.
Step 1: Determine where you want your artwork to be positioned. Hold the piece against the wall. When you think you have it right where you want it, mark with your pencil where the top of the frame and the wall meet.

 |
| If you look closely you can see the faint pencil line above the frame. |
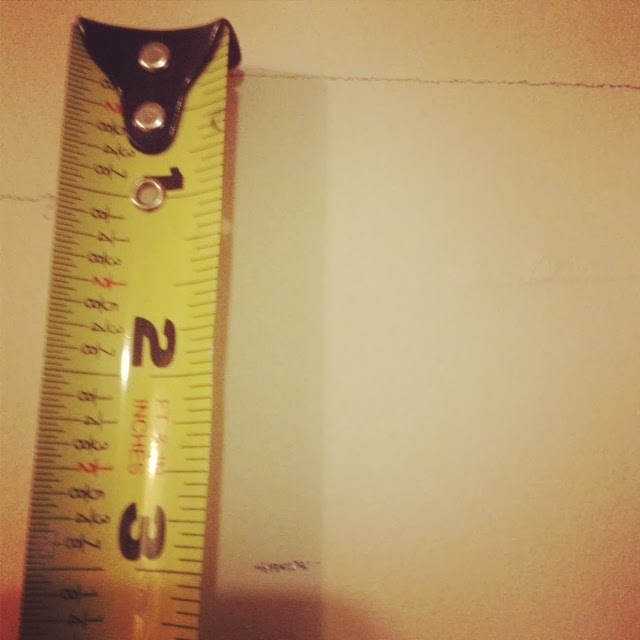
Step 2: The first step is deciding where you want your eye hooks to go. Depending on the placement, it can make a world of difference on how your picture with hang. If you put your hooks toward the top, the picture will hang flush against the wall. This is ideal if you want your pictures to be seen from an anatomical position (standing). If you put your eye hooks toward the bottom of your frame, the frame will tilt out from the wall. This would be ideal if you are going to be in an orthopnea position (sitting) while viewing the artwork, as the image will tilt down toward you. I put my eye hooks 3 inches below the top of my frame. Depending on the thickness of your frame, you can use a small drill bit to pre-drill holes into your wood frame before screwing in your eye hooks. I used cheap Ikea frames, so putting a drill to it is an affirmative no go.

Step 3: Position a piece of painters tape across the back of your frame. Use your pencil to mark where the eye hooks are on the painters tape.

Step 4: With your tape measure, determine where the middle point of your frame is, and mark with your pencil on the painters tape.

Step 5: Because I placed my eye hooks three inches below the top of my frame, I had to measure three inches below my original pencil mark. If you put your eye hooks five inches below the top of your frame, measure five inches below your line and mark with a pencil.
Step 6: Peel your painters tape off of the back of your frame. Line your center mark on the painters tape with the line you created in Step 5. Secure and smooth the painters tape to the wall.

Step 7: Place your picture hook above your center line on the picture moulding. I used a pack of gold hooks from Menards that were $4.00 for a six pack. You will notice there is a rounded edge (this is the edge that rests on the moulding) and a harsh edge (this is where your wire will rest).

Step 8: Place your wire in the cradle of the harsh edge.

Step 9: Find the marks on the painters tape that you created to indicate where the eye hooks are. Bend the wire slightly on both sides.
 |
| Matching the wire up to the eye hook pencil marks. |

Step 10: Remove the wire from the hook. Watch out! The hook might fly off the moulding and hit you right in the face... like it did me. Men, protect your goods with this step. Sharp metal and a fleshy package aren't friends. I am sure of it.
Step 11: Using your slight bends as a guide, thread the wire through the eye hooks. Once the bend is inside the hook, start twisting the wire around to secure it. You may have extra wire. Trim off the excess with a wire cutter.


Step 12: Remove the tape from the wall and clean up any pencil marks with an eraser.
Step 13: This is the final and more important step! YOU ARE FINALLY READY TO HANG YOUR ARTWORK! Shots around the world! Loop your wire on the hook. If your picture is crooked, you can adjust it by tugging on either side of the wire. The first time I did it, it took me fifteen minutes to hang one picture. By my sixth one, I was down to five minutes. BOOM.

Great job guys! Hopefully the step by step process worked out... because it was a bitch to write. I just like you all so much. SO MUCH. Definitely worth it. Cheers.
No comments:
Post a Comment